Beginner Steps to Create Subway Tiles Backsplash

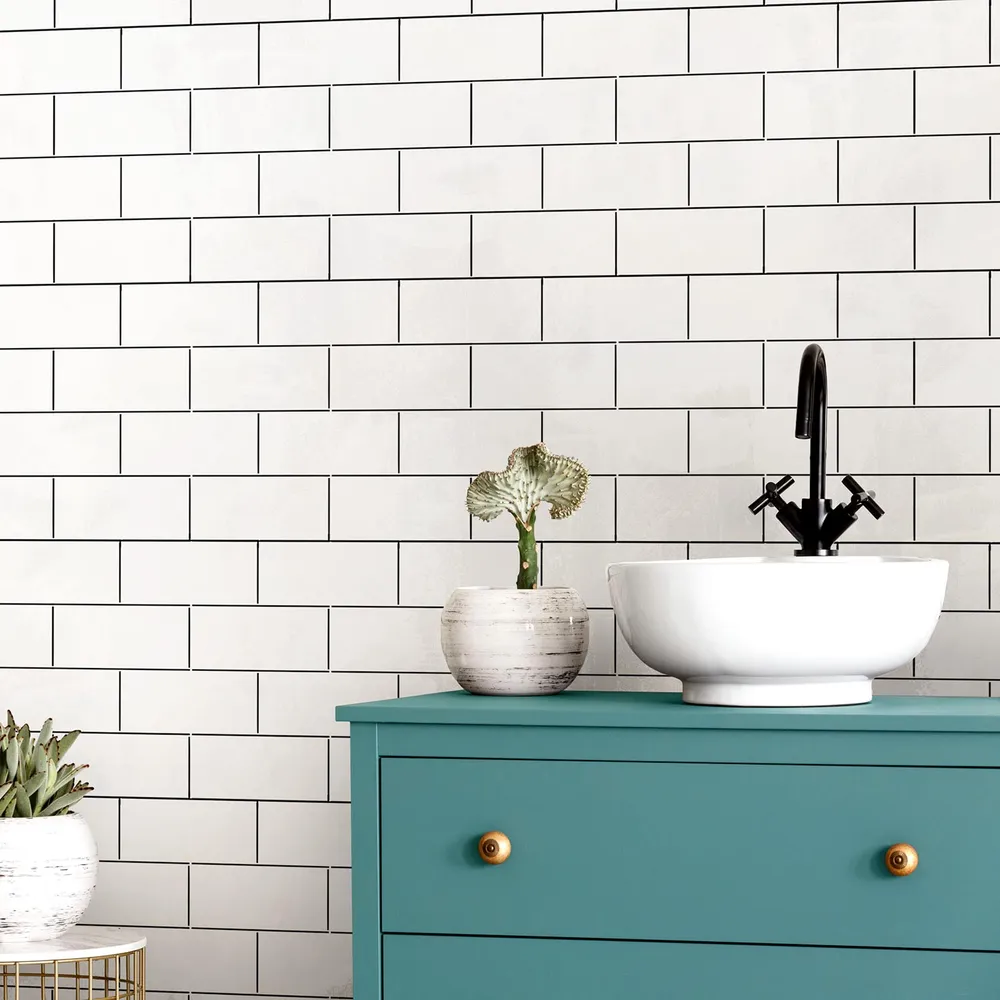
It’s exciting to bring you the surest step-by-step guide on how you can create subway tiles as a beginner. As a beginner, there are certain things you must put in place, beginning from the tools to the steps you must take. By experience, many people discovered they could use the DIY approach to fix the backsplash in the kitchen and still give a professional touch. Meanwhile, the process to follow also requires a level of diligence to ensure you do all it takes.  You can read Instruction for beginners of Subway tiles backsplash by visiting ttps://tileandbathco.com.au/collections/subway-tiles

Whether you had a backsplash before or not, you can always create some magnificent outlook in the end. Particularly if you just moved into a new place and are still looking for a way to customize it. This guide can help you create a unique style. So, instead of just painting it white on black, you can build a patterned faux backsplash that you love. Meanwhile, you need not come under the pressure of creating a new backsplash; you can also take your time.

Needed Materials to Create Subway Tiles

Below are some of the items you need to create the backsplash design with the subway tiles. You may love to place an order from a local store and prepare ahead of your day of creation. let us check the list

  • A set of ceramic subway tile
  • Tile spaces of a quarter inch
  • Thin-set mortar
  • Grout
  • Grout float
  • Tile edging trim pieces
  • Trowel
  • Sharpie
  • A wet saw and a manual cutter

The entire process of installing subway tiles can be divided into three sections, namely.

  • Demo
  • Tile installation, and
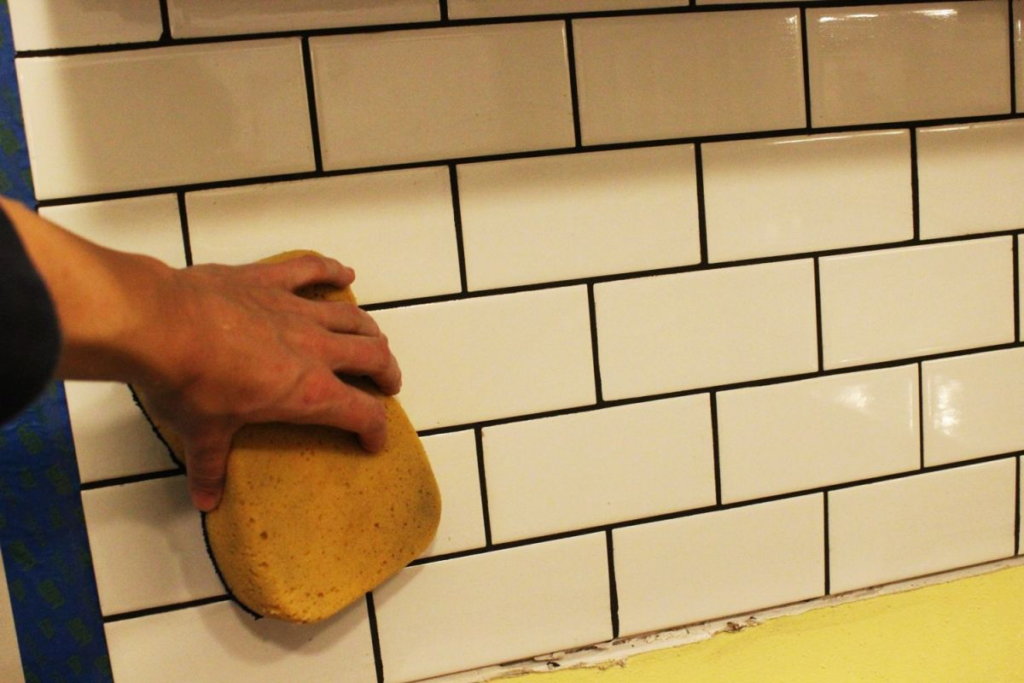
  • Grouting 

Demo and Drywall Replacement

This step pertains to those who have an existing backsplash. Moreover, it deals with a demonstration of the process of replacing drywall. However, if you don’t have an existing backsplash on your wall in the kitchen, skip this step to the next one. That said, it might be challenging to salvage anything meaningful from drywall. When you begin to remove a few tiles, you can tell if items are still helpful there. If not, remove and dispose of whatever is left on the surface and prepare it for the subsequent laying.  Click here to read about Common FAQs for Modern Subway Tiles in Sydney.

Meanwhile, below are some of the materials you need for the demo and to create the space required. So, when demoing an existing backsplash, you need these materials.

  • Box cutter
  • Hammer
  • Crowbar or Pry bar
  • Drywall screws
  • Sheetrock, depending on the number of pieces you need for the available space.
  • Drywall knife or multi-tool

How to Demo an existing Backsplash

If you wish to retain an existing backsplash, prepare to make a mess of the whole place. Ideally, the quantity you make is part of the fun of doing it yourself. So, in preparation for the mess, get a plastic drop cloth, which you can place on the countertop to collect all the waste materials. You can also use it to protect the countertop and later clean it if need be, In addition, make extra trash bags available or boxes to collect the materials you need to dispose of. 

You may first apply a pry bar to kickstart the process of trying to demo an existing backsplash. But if you discover that it is causing damage to the current sheet rack, it is time to change the strategy. It is time to use the hammers and remove every stud and residue you don’t want to remain on the wall. Meanwhile, it does not take too much effort to remove the tiles, especially if the wall is dry, pull off the remaining sheetrock and clean up the wall from the crevices of the cabinet. More so, you can also use a box cutter or drywall knife to obtain clean lines.

Adding new drywall to your backsplash

Before placing the subway tiles on the wall, the first measure the available space for the new drywall. Meanwhile, don’t be intimidated by the presence of holes here and there. You may not need many sheets of drywall to finish the job. Measure the height and width of the available space. Meanwhile, the measurement refers to the distance between the countertop and the cabinet. Then you score them using a box cutter, after which you break off the piece. 

The next step is to use a multi-cut tool to remove the outlet holes and fix your drywall in place smoothly. Amazingly, you may not even need tape or mud drywall to keep it in place if the shape measurement is accurate. When the drywall is in place, then it is time to start tiling the subway tiles. 

Installing the Subway Tiles in Place

We just reached the core of our DIY task in Subway tiles installation. Depending on the measurement of the wall that you have, you can choose the standard tile size of 12 inches. Otherwise, 6-inches subway tiles can also work through the same steps. Before you begin, check out the bottom row of the space to ensure that it is at the level because you do not want crooked tiles. As a guide, you can even draw a line on the wall using a laser or regular class to keep it as straight as possible. 

Begin to apply the mortar with a towel to set each tile in its rightful place and fill up the space in between. You can either be placing the mortar directly on the subway tiles before placing them or put the mortar on the surface first. Either way, you will arrive at the same result, only that some people prefer to place the mortar on the tiles directly first. Another important thing here is to ensure the mortar is not dripping over the countertops. When the lower row is set, you continue to fix the other tiles in a repetitive pattern, depending on your style of choice. 

Conclusion

On a final note, creating a backsplash in the kitchen is one of the most manageable DIY tasks in interior decorations. However, it requires a guide such as we already provided here. So, take your time, get all the materials and tools you need, and finish the job. Meanwhile, Tile and Bath Co can assist you with any home interior material that you need, especially subway tiles. 

Common FAQs for Modern Subway Tiles in Sydney

Tile and Bath Co is ready to answer all your subway tiles, application, installation, use, and maintenance. We will be dealing with some common frequently asked questions and then some uncommon questions that you may have. So, while many people have heard about subway tiles, they may not have learned all there is to know about them. These people may have some questions that are worth addressing. Below are the questions and the best attempt of answers. Click here for more FAO about Subway tiles.

Common Questions about Subway Tiles

  1. Why are they called Subway Tiles?

Subway tiles for their name from the first use across the New York City subway system in 1904 by professional architects. These choice tiles were designed and picked because they are easy to make, install, and clean. New York City needed a wall covering that was easy to clean and attractive, and bright. Meanwhile, these rectangular-shaped tiles came in handy to perfect the job. And since then, home interior designers across the world have chosen them. 

  1. What is the standard size of Subway Tiles?

The technical side of the rectangular subway tiles is simply a double of the breadth to make the length. In other words, if the distance is 6 inches, then the breadth should be about 3 inches. This classic standard size remains the commonest today in significant interior decorations involving subway tiles. However, as the diversity grew over the years, other sites started springing up, such as the 2 x 4 inches, 4 x 8 inches, 4 x 12 inches, and 4 x 24 inches. You can practically have any size of subway tiles that you desire, but eh 3 or 4 inches breadth are the standard choices. 

  1. What are Subway Tiles made from?

Perhaps this question is even the commonest of all, only that it is not hard to answer. The first set of subway tiles was made of ceramic, but these tiles are made of different materials today. Although professional interior designers still prefer to have the classic ceramic subway tiles, eth other options abide. Some of the alternatives include glass, porcelain, and even metal. 

On the other hand, some expert designers have developed other subway tiles made from natural stones. For instance, you can make subway tiles from travertine slate, onyx, and marble stones. All these choices are increasing in prominence across the world and becoming widely available in trusted retail stores. 

  1. Are subway tiles now out of date?

When you hear that subway tiles have been around for as far as a century, you begin to wonder if it has gone out of vogue already. However, the case of subway tiles is a deviation from this expectation. While it is natural for some consumers to question the stylish trend of interior designs using subway tiles, professional interior decorators know better. Subway tiles can never be outdated because of the diversity, creativity, and timeless designs you can create from them. As long as these designs are still possible, you are sure to have them for a long time.

Uncommon Questions on Subway Tiles

  1. Do I use Gloss or Matte finish for my Subway Tile? Which one is more timeless and easier to clean?

Generally, using the glossy finish brings a more traditional and elegant look to your design. In addition, the high reflective quality of a shiny surface can be an advantage to make your space show up brighter. On the other hand, if you choose a matt finish, you can get a more relaxed and casual appearance on the design. So, it depends on the kind of appearance you want to create with your home interior design with subway tiles. 

Meanwhile, in terms of the cleaning process, glossy and matte finish subway tiles have unique benefits. For instance, the matte does not retain any smudge or splash on the surface like the polished tile. However, the glossy tile finish is relatively easy to wipe off and clean, even if there are streaks or splashes. 

  1. What grout color can I use on my subway tiles?

While you decide to install white subway tiles, the next question that may pop us is what grout color will match them. However, this question still does not deserve your worry. Since the grout color presents you with another opportunity to enhance the beauty of your design, you can take advantage. So, firstly, know that the grout has a tremendous impact on the tile design and can help you optimize your spaces. 

However, you have three main options when it comes to using grouts. These are

  • matching grout form
  • complementary grout form, and
  • contrasting grout form

Overall, what determines what color you choose for your grout is the final goal in your mind to achieve. If you pick the suitable grout, you can ensure that the final tile color would be clean, crisp, classic monochromatic, and seamless. But since the subway tiles are your primary focal point of the design, you can use the grout to steal the show by contrasting the idea of fixing grout. A contrasting grout color adds to the character of your design with boldness.

It also shows off a dramatic look at the tile patterns rather than the tiles themselves. So, invariably the grout becomes an integral part of the design. On the other hand, you can use a neutral or complementary grout color that adds a subtle contrast to the focal point. The final option is to use a color that gently accents the tile pattern and the overall design. These choices have all been found to be truly stunning. 

  1. How do I match my Subway Tiles with the cabinets?

Well, there is no specific formula to ensure that your subway tiles match the color or finish of your cabinets. However, the goal of creating such an appealing look that can serve for a long time is still focused. Therefore, the choice of combination with your cabinets largely depends on what you find most appealing. Also, think of color combinations in terms of contrast and not similarity. Do you want the tiles to show a difference with the cabinet color and finish, or do you want them to remain similar? 

Conclusion

Among all these questions, you should find one that directly or indirectly addresses the ones in your heart to ask. In case you still have more questions, contact the Tile and Bath Co for further assistance. Meanwhile, we are also committed to providing you with all the necessary materials you may need for your interior home decorations.